Easy hacks for better colour
Posted on Apr 27, 2026 by Pro Moviemaker
Get the look of your films just right by following these dos and don’ts
Very few creatives get drawn in to filmmaking by the finer points of colour management, calibration targets or chromatic accuracy. But while colour science might not be the most glamorous side of the industry, getting it wrong is one of the quickest ways to make good work look shamefully amateur.
The good news is that reliable colour does not necessarily mean a full-time colourist, HDR finishing suite or years spent learning specialist software. For most owner-operators, production companies and small creative teams, the aim is simple: footage that looks natural, matches properly and stands up across different screens, all without slowing down your work to a snail’s pace.
Think about colour as a workflow, not a last-minute fix. It starts before the shoot, continues on-set and only finishes in post. The filmmakers who get the best results are not usually the ones with the fanciest LUT packs, they are the ones who build consistency into the process from the start.
There are three crucial stages. The first is pre-production, where you should calibrate your monitors, understand your camera and make sure your kit is providing a trustworthy baseline. Then it’s on to the shoot, where you need to set white-balance properly, monitor exposure carefully and manage mixed light sources before they have the chance to become a problem. The final act is in post, when it’s time to match clips accurately, establish a clean primary grade and – only then – start adding stylised looks.
This is not an exhaustive guide to high-end colour science. It is a practical route towards better results for filmmakers who need decent colour, fast.
Take 1: Calibrate for consistency
Before you shoot a single frame, you need to know the screens you are judging your work on are accurate. That sounds obvious, yet countless filmmakers spend thousands on cameras, computers and lenses, and then make critical visual decisions on a laptop or desktop monitor that has never been calibrated. Make sure to avoid this painful pitfall.
If you view the same image on a laptop, an external editing monitor and a television, chances are they will all look different. Contrast shifts, shadows close up, whites drift warm or cool and colours become more or less saturated. You cannot control what each viewer will watch your film on, but you can make sure your own screens are not misleading you from the very beginning.
This matters even more when working in a team. If one person shoots, another edits and a client reviews on yet another display, consistency quickly disappears unless you have a pre-agreed calibrated reference point.
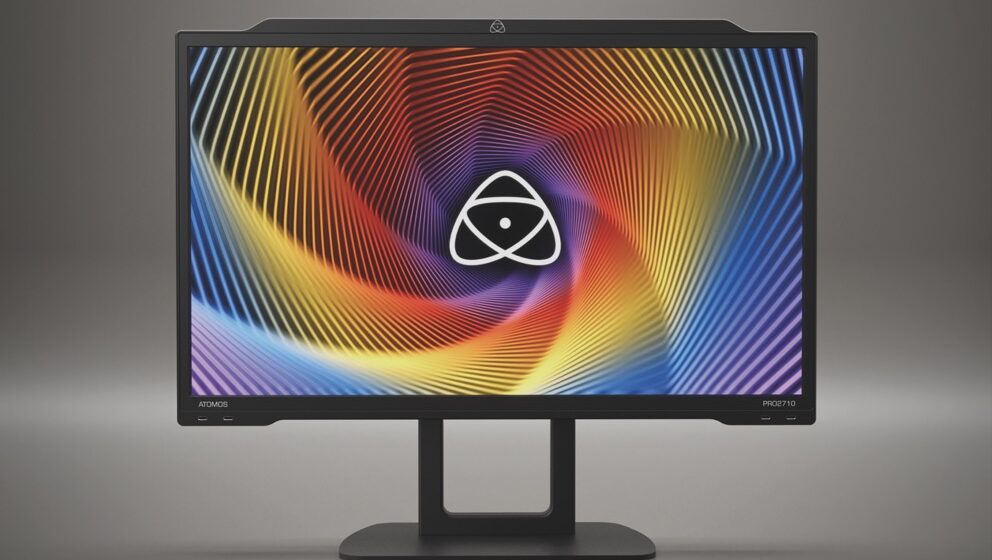
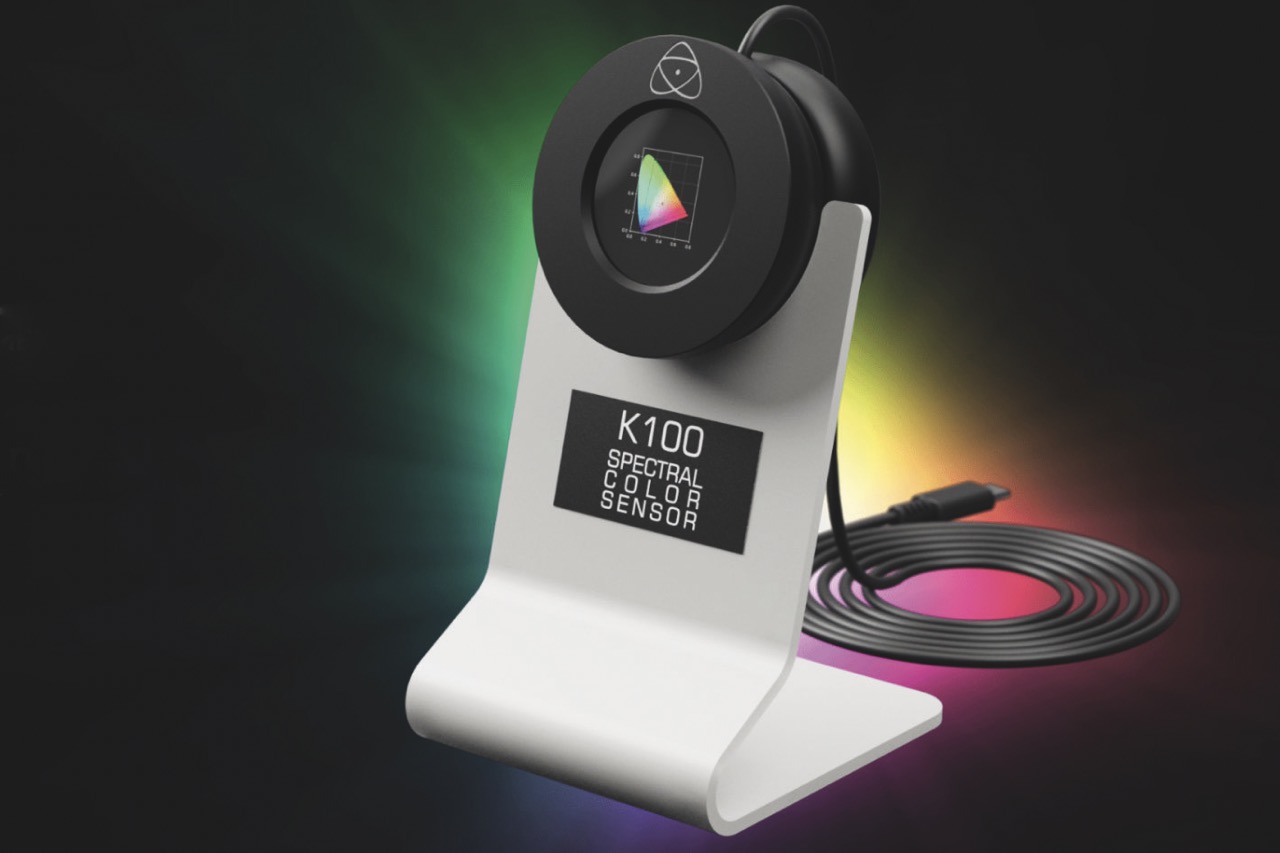
Some top-end monitors now have built-in calibration features. One recent example is the Atomos Studio Sonic Pro-2710, a 27-inch OLED reference monitor aimed at editors and colourists. It offers true 33-point 3D LUT capability, real-time LUT previewing and a sensor-calibrated surround lighting system that measures ambient light as well as display output. It also supports recalibration via the Atomos Studio K-100 Spectral Calibration Probe that reads full spectral power distribution for lab-grade precision.
Most filmmakers, though, still work from standard Mac or PC displays that can drift more than you may expect, especially over time. Regular calibration is essential. In a dedicated colour house it may be done daily. For most editors, however, monthly calibration is a sensible routine.
The process is straightforward. Let the monitor warm up for around an hour, make sure it is running at its native resolution and use a hardware calibrator with the matching software. The device sits against the screen, measures output and builds a corrected profile. It only takes a few minutes, and the before-and-after difference can be dramatic.
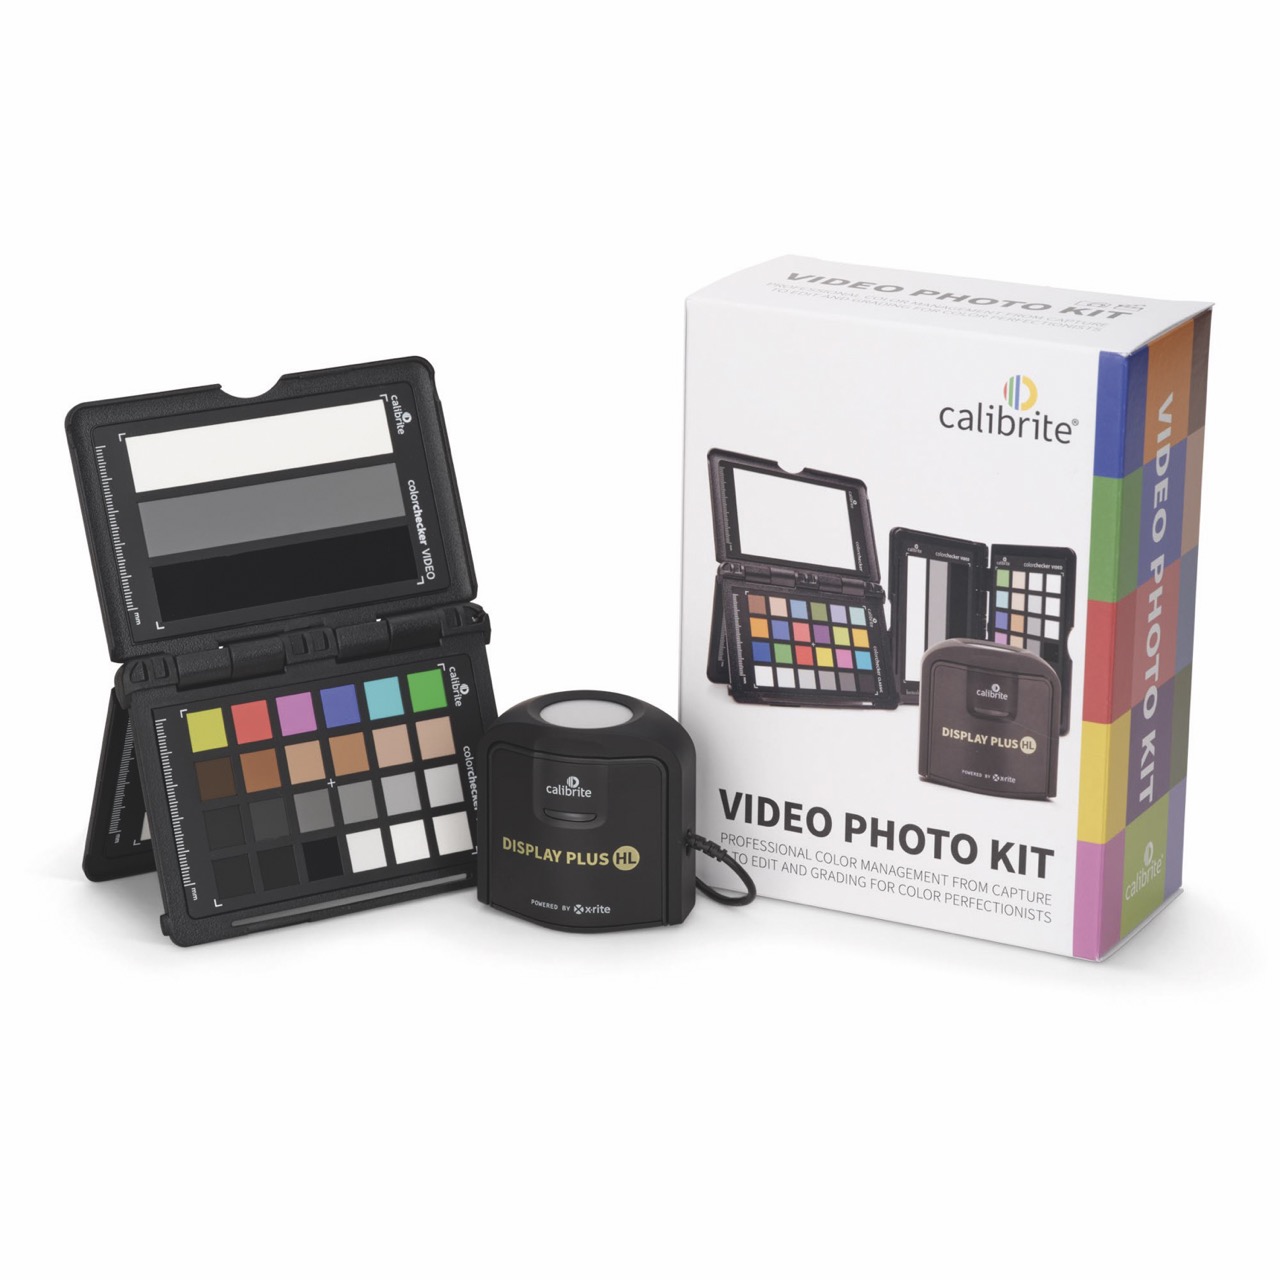
One popular equipment option is the Calibrite Display Plus HL that is especially designed to cope with today’s bright panels up to 10,000 nits. It supports mini-LED, OLED and Apple XDR displays, and covers standards including NTSC, PAL/SECAM, Rec. 709 and BT. 1886, as well as Rec. 2020 workflows. It can also calibrate projectors and field monitors.
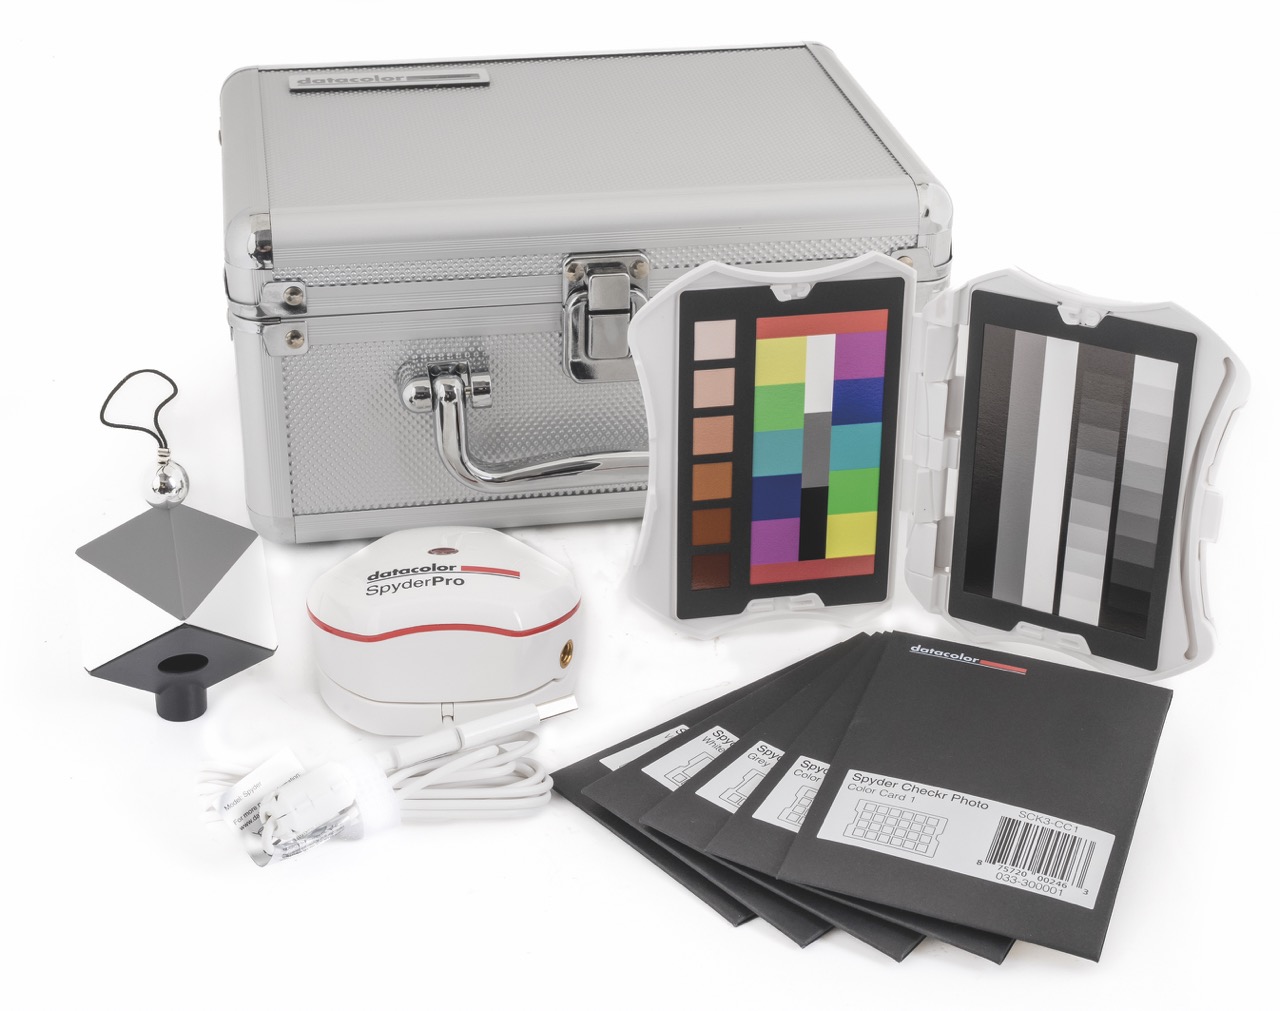
Datacolor’s answer is the Spyder Pro, an advanced display calibrator supporting OLED, mini-LED and Apple Liquid Retina XDR screens. It adds support for video and cinema targets, high-brightness displays and unlimited calibration profiles, making it especially useful for editors switching between jobs and delivery standards.
For filmmakers working with more than one display, the Spyder Pro’s Studio Match feature helps align all screens for visual consistency. It supports 3D LUT export, so calibrated looks can be loaded onto compatible displays such as Atomos monitors. That creates continuity from the field monitor on-set to the grading screen in the edit suite.
The Spyder Pro also measures ambient room light and adapts screen calibration to suit the environment above, behind and around your display. Moreover, it allows fine-tuning of white point, brightness and gamma for users who want more control.
Take 2: Get it right in camera
The fastest way to save time in post is to prevent problems forming on set. That starts with white-balance. However good software is, correcting mismatched white-balance after the shoot is always slower and less precise than getting it right when you record. And yet, too many filmmakers still rely on auto white-balance, which can shift between shots and create a grading nightmare. Don’t fall into that trap.
Set white-balance manually whenever you can. On cinema cameras, it is usually quick and obvious. On mirrorless bodies, however, it may be buried in the menus, but it is worth digging around for and learning. Even if you are recording Raw and can adjust later, setting it correctly on the day helps monitoring look more natural and prevents you from making mistakes when recording to formats that bake the signal in, such as ProRes via an external recorder.
The old-school strategy is to use a white sheet of paper or someone’s shirt to fill the frame while setting balance. This is better than nothing, but not an especially accurate method. Paper can contain optical brighteners or pigments, not to mention that pure white surfaces can clip, both of which affect the RGB values your camera uses for the measurement.
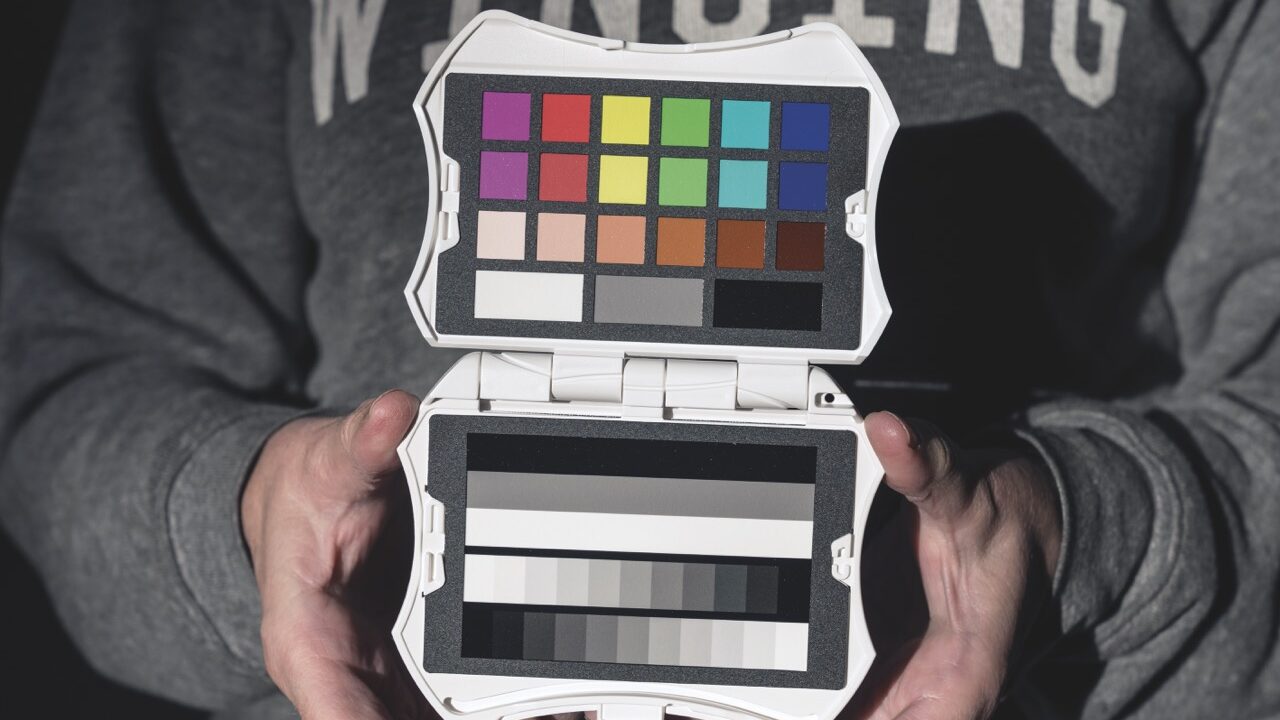
A proper video white-balance target is a much better solution. These are designed to avoid highlight clipping, remain spectrally neutral and reduce reflections. Some also include colour patches, making them useful in post as well.
The Calibrite Colorchecker Passport Video 2 is a compact option that combines a colour chart and a greyscale target in a pocket-sized folding case. After you record a reference shot, you can use it in post to align your footage more accurately.
Datacolor’s Spyder Photo Video Kit takes the same principle further. Alongside the Spyder Pro calibrator, this includes the Spyder Cube for in-camera white-balance and contrast reference, plus the Spyder Checkr Video chart that helps standardise colour across different cameras and lenses.
Charts and white-balance targets only go so far, however, if the actual lighting is inconsistent. Mixed sources are one of the biggest causes of difficult colour correction. Daylight, LEDs, tungsten practicals, HMIs and fluorescents may all be present on the same shoot, and two fixtures labelled 5600K do not necessarily behave the same way in real life.
This is where a colour meter becomes incredibly useful. The benchmark pro unit is the Sekonic C-800 Spectrometer – a highly respected tool that measures both exposure and light quality in detail. It is powerful, but also expensive.
Datacolor’s Lightcolor Meter is a more accessible alternative. This compact device measures exposure, colour temperature and green-magenta shift, and works with daylight, tungsten, fluorescent lighting, LEDs, HMIs and flash. Like the Sekonic, it tells the true output of a light rather than the nominal figure printed on the fixture.
That is invaluable knowledge when you are balancing multiple sources or trying to maintain continuity as daylight shifts over the course of a shoot. You can check if a light is really hitting 5600K, see whether a softbox is warming the output and correct mismatches before they affect the footage.
If lights do not have built-in colour adjustment, the Datacolor system includes a gel filter library featuring Rosco, Profoto and Lee options, so you can quickly work out how to correct a source physically.
Unlike the Sekonic, which has its very own display, the Datacolor unit works with the free Lightcolor Meter app on Android and iOS. The device measures continuously and sends the data to your phone. The unit is small, rugged, powered by AAA batteries and includes a mounting plate for stands or tripods. Its integrated dome can also be recessed for more directional readings.
For interviews, green-screen set-ups, product work or any scene that involves mixed lighting, that kind of precision is a major time saver.
Take 3: Polish it in post
Most editors begin in Adobe Premiere or Apple Final Cut Pro. Clips are put on the timeline, and then the matching begins by eye or using tools such as Luma Waveform, RGB parade and vectorscope.
That process can work, but it quickly gets messy when many different cameras, profiles and lighting conditions all get involved. It is even riskier when you are dealing with compressed formats such as 8-bit 4:2:0, where aggressive adjustments can quickly degrade the image.
A far more reliable editing route is to use a colour-managed application that is specially designed for precision matching. DaVinci Resolve remains the strongest option, and the free version offers more than enough for most filmmakers’ and creators’ projects.
If you took time to shoot a colour chart on-set, your reward is that Resolve can now do a remarkable amount of the hard work for you. It supports chart-based matching using targets from major manufacturers like the DSC Labs Oneshot, Calibrite’s Colorchecker charts and the Datacolor Spyder Checkr.
The basic workflow is simple. Just import the footage, go to the Colour page and choose the Colour Chart tool. Select the correct chart from the pull-down menu, then define your source gamma based on how the footage was recorded, such as Rec. 709 or S-Log. Choose a target gamma – usually Rec. 709 unless you are grading for HDR – and enter the colour temperature used in camera.
You then draw an overlay grid to align with the chart in the frame and hit Match. Resolve compares the known chart values with the recorded image and automatically adjusts the clip for more accurate colour reproduction. It reveals where the camera is drifting as well, helping you understand the characteristics of different sensors.
If you apply that process consistently across your footage, you can build a clean, matched starting point before any creative grading begins. From there, you can either continue inside Resolve or send the footage back to your NLE for final editing.
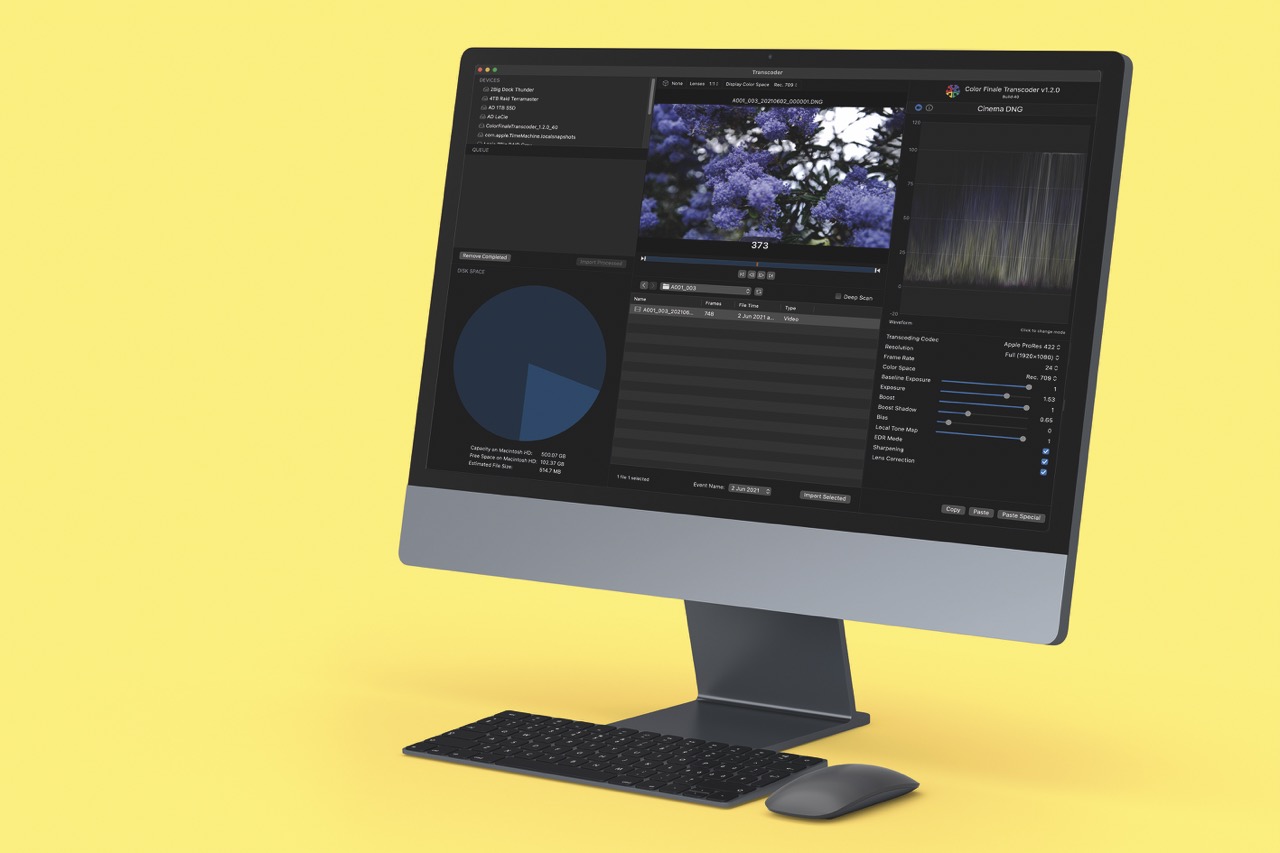
Once the primary colour correction is sorted and the clips are balanced, LUTs and style treatments begin to make sense. Tools such as Filmconvert and Color Finale 2 Pro can be used to build mood, emulate film stock or create a more stylised palette. But the key is for the footage to already be technically sound.
That is the real secret to easier colour correction. It is not about finding a magic plug-in. Instead, it is about establishing consistency from the very start, so that every subsequent decision on-set and in the edit suite becomes faster, cleaner and more predictable.
Get the monitor right. Set white-balance properly. Measure light when it matters. Use charts when you can. Then let the software do the heavy lifting from a solid baseline. That is how you get better colour results without making the process harder than it needs to be.

This article was first published in the May/June 2026 issue of Pro Moviemaker